
Today I am sharing an amazing original recipe with you that I know your whole family will love. It's got bacon, potatoes, corn, sage, thyme, apple pie spice, onion, garlic... you know with those ingredients you can't go wrong! And to top it all off, it's a crock pot recipe, so you can just whip it up and walk away! My favorite!
Plus, the whole house smells incredible right now! It's a great meal to eat after a chilly fall day, and the ingredients are budget-friendly!
Remember, I'll post the entire recipe at the bottom too so it's quick and easy to look at.
To start, let's get the ingredients ready:
• 6-7 slices of bacon
• 1/3 white onion, diced (It's about 1/2 cup when it's all diced)
• 1 can 15.25 oz whole kernel corn (empty the water out of the can)
• 3 garlic cloves, diced
• A sprig of sage (about 5-6 leaves)
• 1/2 teaspoon of dried thyme (if you're not a massive thyme fan, I recommend less)
• Dash of apple pie spice (cinnamon may work just as well if you don't have apple pie spice.)
• 1/2 teaspoon salt & pepper
• 5 medium sized potatoes, sliced and diced (I used russet, I imagine you could use any kind though)
• 2 cups chicken broth (I used chicken bouillon to get my 2 cups)
• 1/2 cup half and half
• 1/2 cup milk (I used 2%)
You'll also want:
• A crock pot (I use a 7 qt)
• A fry pan or dutch oven
• A plate
• A cutting board and knife
• A handy chopper to get those onions tiny
Looks like a long list, but the ingredients are really quite budget friendly, especially if you happened to grow some sage this past summer like I did ;) If you didn't, you can purchase sage leaves at the grocer or powdered sage would probably work too.
Get your onion diced, your garlic cloves chopped, and chop up one sage leaf. I used the largest one in that bunch. In a pan or dutch oven on the stove top, fry up your bacon. While the bacon is frying, sprinkle a little bit of apple pie spice on the bacon. Savor the incredible aroma. :))
After your bacon is sufficently crispy, remove and set on a plate. You can dab at the grease with a paper towel, but I don't recommend placing them on a paper towel, on a plate if you use my method of chopping bacon later on. :)
While the pan is still hot with the bacon grease, add your onion to the drippings. Cook the onions until they are slightly translucent. They'll probably turn brown because of the bacon, but it's all good.
This is about the right "brown-ness". Empty the pan into your crockpot's pot. It's currently the only thing in there.
Now, in this same pan, put your chopped up garlic, that chopped up sage leaf from earlier, and the corn in the pan. The goal here is to cook it ever so slightly so that the flavor of the sage and the garlic infuse with the corn. You'll cook this for about 2-3 minutes, keep moving the corn so it doesn't burn.
When that's done, toss it in the crockpot. Now, your bacon from earlier - the reason why I didn't put a napkin under the bacon is that I take my kitchen scissors and cut at the bacon from the top... and I don't want napkin in my bacon. It's quicker than chopping it with a knife and getting another cutting board dirty.
Now, toss
HALF of the bacon in the pot, and reserve the other half. You'll sprinkle this remaining bacon onto the soup at the very end. Add your 1/2 teaspoon of thyme (or less. Thyme has a very strong taste, if you're not a big fan then I recommend even less than a 1/2 teaspoon.), your 1/2 teaspoon of salt, 1/2 teaspoon of pepper. I added a little more apple pie spice here too. Stir so that the spices and such can mix in.
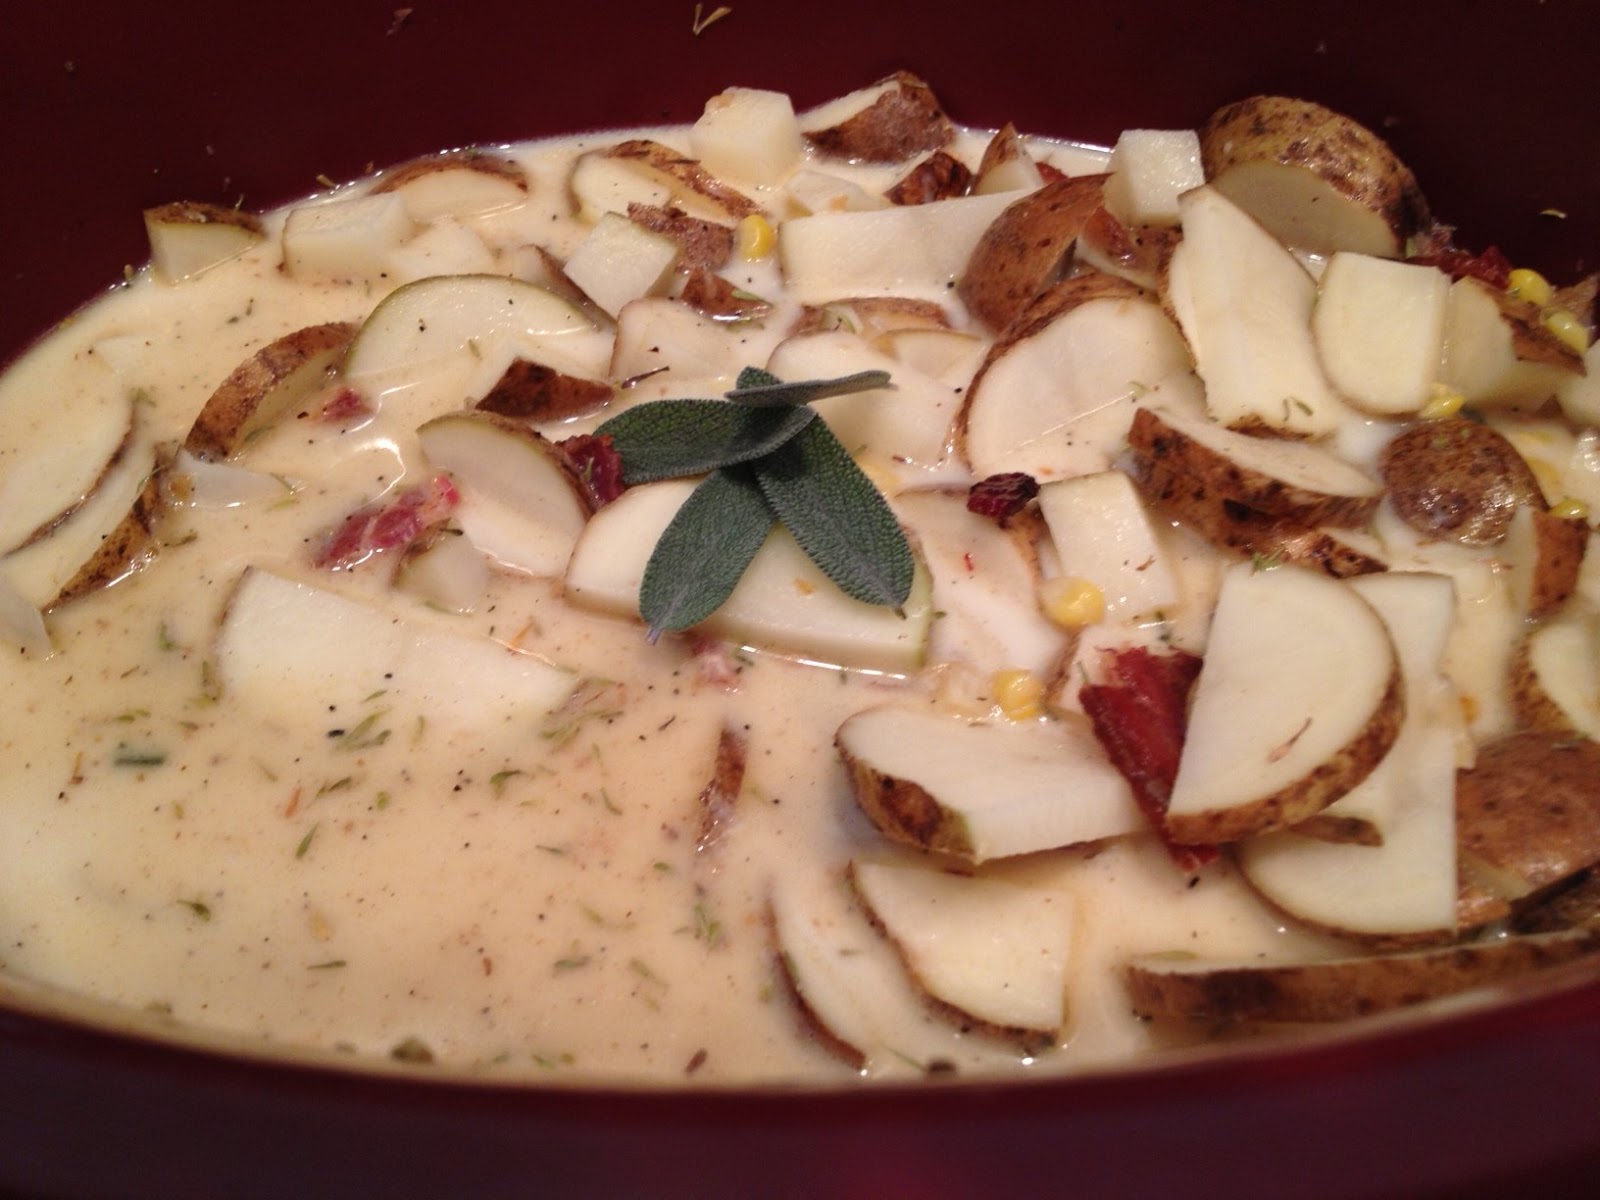
If you haven't yet, chop up your potatoes. I did a mix of halved slices and diced potatoes. Fancy. When you're done with chopping the potatoes, add them to your crockpot too.
Mix it all up. Yum. Now, add your 2 cups of chicken broth, 1/2 cup of half & half, and 1/2 cup of milk.
Lay some sage leaves on top, and get to cooking! I cooked mine on low for 6 hours, and stirred it once every hour or so. You can remove those leaves before you stir if you don't want to have to fish 'em out later, or you can skip the sage on top step. As the potatoes cook, you can mash them a little with your spoon when you stir the soup - it'll add to the thickness of the broth, but don't go too crazy and make a mashed potato dish! ;)
About 6 or so hours later...
Scoop some out into some bowls and enjoy the awesome taste! :) I like to add just a dash of cheddar cheese and add the bacon I saved earlier to the top of the bowl. Yum!
Autumn Chowder
Ingredients:
• 6-7 slices of bacon
• 1/3 white onion, diced (It's about 1/2 cup when it's all diced)
• 1 can 15.25 oz whole kernel corn (empty the water out of the can)
• 3 garlic cloves, diced
• A sprig of sage (about 5-6 leaves)
• 1/2 teaspoon of dried thyme (if you're not a massive thyme fan, I recommend less)
• Dash of apple pie spice (cinnamon may work just as well if you don't have apple pie spice.)
• 1/2 teaspoon salt & pepper
• 5 medium sized potatoes, sliced and diced (I used russet, I imagine you could use any kind though)
• 2 cups chicken broth (I used chicken bouillon to get my 2 cups)
• 1/2 cup half and half
• 1/2 cup milk (I used 2%)
Directions:
1) Dice onion, garlic, and one sage leaf.
2) Fry bacon in frying pan or dutch oven on stove top until crispy. Sprinkle with apple pie spice. Set aside.
3) In the bacon grease, brown onions. When onions are brown and translucent, place onions in crockpot.
4) In same pan used for bacon and onions, add the chopped sage leaf, garlic, and corn. Cook for 2-3 minutes or until fragrant.
5) Add corn mixture to crockpot. Chop bacon, place half of bacon in crockpot, reserve the rest for topping.
6) Add thyme, salt, pepper and another dash of apple pie spice to crockpot. Mix.
7) Chop potatoes into slices and dices. Place in crockpot. Mix.
8) Add chicken broth, half & half and milk to crockpot. Mix, and set crockpot to low. Add extra sage leaves to top of soup if desired, remove before stirring. Cook for 6 hours, stirring every hour or so.
9) Serve with bacon and optional cheddar cheese on top.
Thanks for following along!


.JPG)


